

How to Install 3D Wall Panels: A Beginner's Guide to Stunning Results
How to Install 3D Wall Panels: A Beginner's Guide to Stunning Results
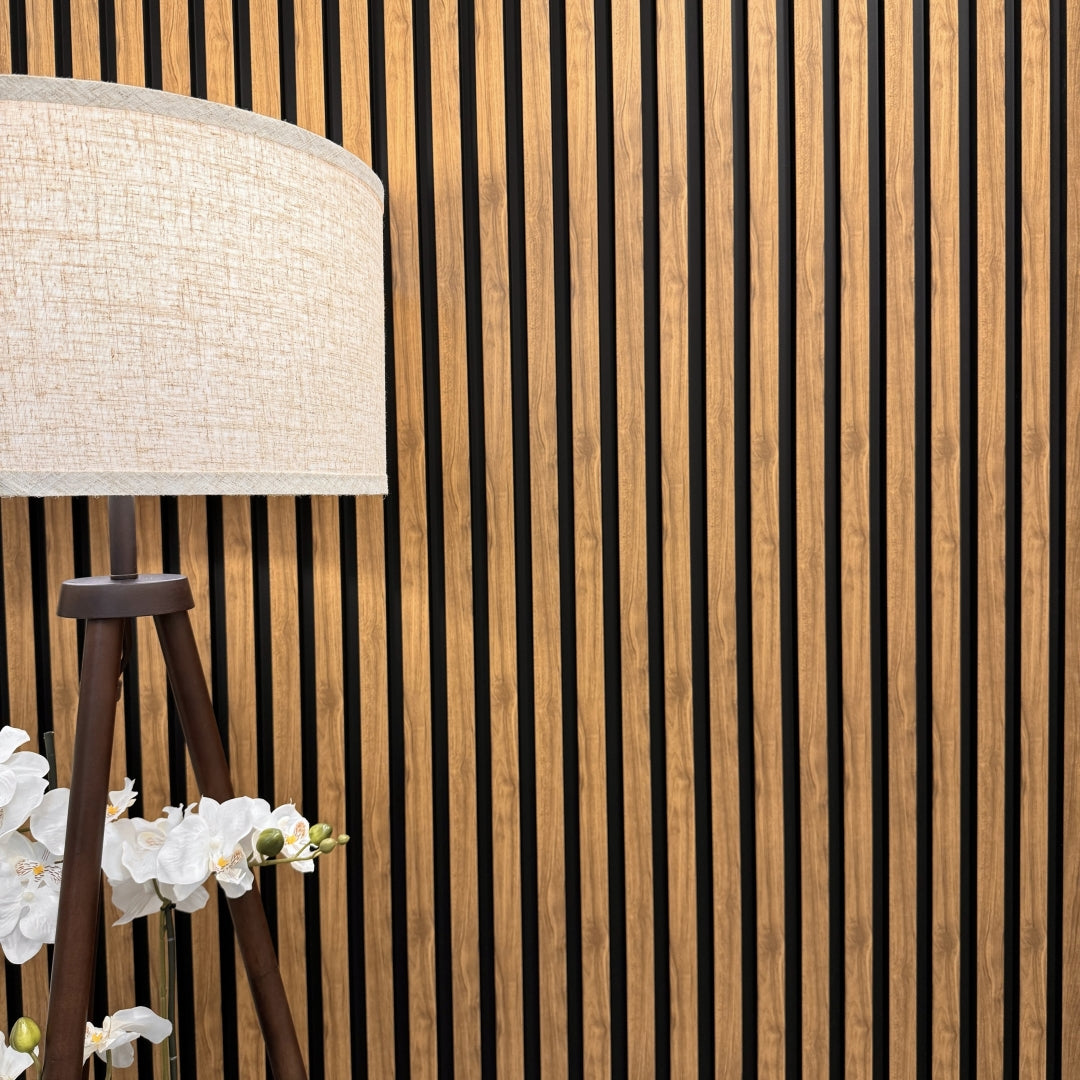
Want to transform a plain wall into a dramatic feature? 3D wall panels are one of the easiest ways to do it — and with the right preparation, fitting them yourself is completely achievable. Here's everything you need to know before you start.
1. Plan Before You Pick Up the Adhesive
The most common installation mistakes happen before a single panel goes up. Taking a little time to plan will save you a lot of headaches later.
Start by measuring your wall carefully. Calculate the total area in square metres and add around 10–15% for wastage — this accounts for cuts at edges and corners. Sketch out a rough layout so you know where your panels will start and end, and whether you'll have awkward half-panels at the sides.
Top tip: Work from the centre of the wall outwards. This gives you a symmetrical finish and means any cut panels are tucked away at the edges rather than front and centre.
2. Prepare Your Wall Properly
3D wall panels can go onto a variety of surfaces, but the wall needs to be clean, dry, and reasonably flat. Loose paint, damp, or crumbling plaster will affect how well the adhesive bonds — and nobody wants a panel dropping off six months later.
- Paint and plasterboard: Sand down any flaking areas and wipe the wall down to remove dust and grease.
- Bare plaster or brick: Prime the surface first so the adhesive has something solid to grip.
- Damp walls: Always fix the source of the damp before installing. No surface treatment will compensate for ongoing moisture.
If your wall has any major bumps or hollows, fill them with a standard filler and let it dry fully before you begin.
3. Choose the Right Adhesive
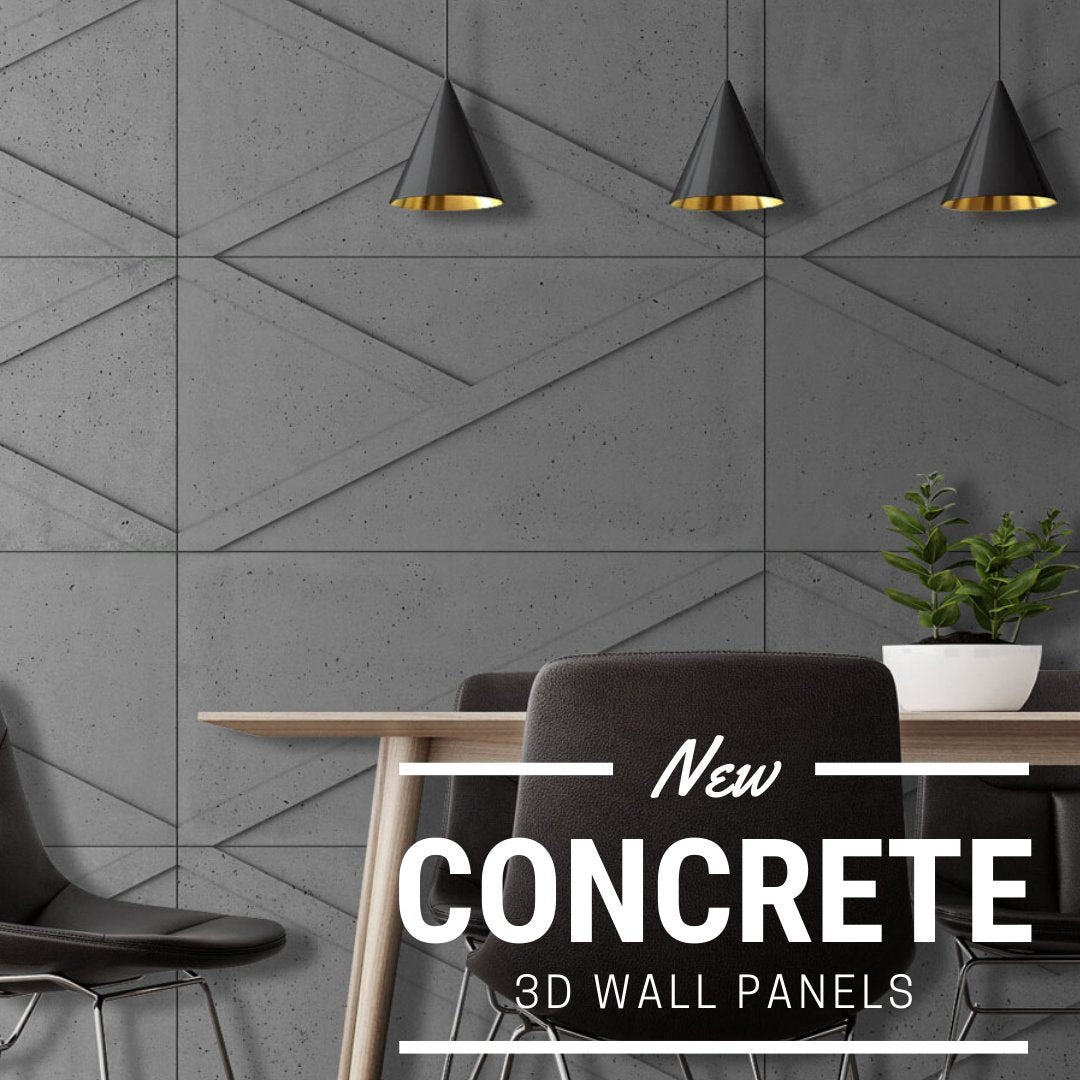
Not all adhesives work equally well with all panel types. Most 3D wall panels — whether they're made from PVC, MDF, or natural fibres — work best with a strong construction adhesive or grab adhesive applied to the back of each panel.
Avoid standard tile adhesive or PVA for anything structural. For lighter panels, grab adhesive in a cartridge gun works brilliantly and makes application fast and consistent.
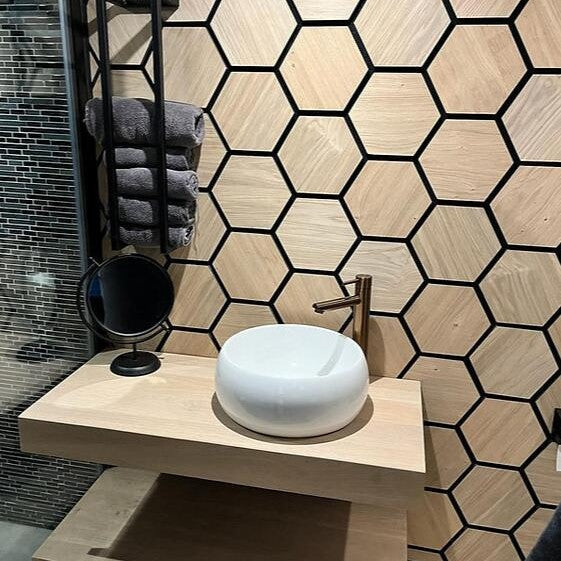
For wet areas like bathrooms: Make sure your adhesive is moisture-resistant. Many decorative panels are not suitable for direct water splash zones, so always check the product specifications first.
4. Cutting and Fitting Around Edges
At some point you'll need to cut a panel to fit. A fine-toothed handsaw works well for MDF panels, while PVC panels can often be scored and snapped cleanly with a sharp knife and a straight edge.
Always measure twice and cut once — and if you're cutting around a socket or switch, turn off the power and use a jigsaw for precision cuts.
Cutting panels at a 45° mitre at internal and external corners gives a much neater finish than butting two panels together. If you're not confident with a mitre saw, some suppliers offer pre-cut corner pieces — well worth checking before you start.
5. Work in Rows and Check Your Levels
Even a panel that's slightly off-level will look increasingly wrong by the time you've worked across the wall. Use a spirit level constantly — after every panel if you can.
Mark a horizontal guide line across the wall at the height of your first row before you apply any adhesive. This gives you a straight starting point to work from and makes the whole job much easier.
If you're working on a large wall, chalk lines snapped vertically and horizontally act as a useful grid and help you keep everything aligned as you go.
6. Finishing and Painting
Once all your panels are up and the adhesive has fully cured (check the manufacturer's recommended drying time — usually 24 hours), it's time for the finishing touches.
Fill any small gaps between panels with a flexible decorator's caulk in a matching colour. This gives a seamless look and prevents dust from collecting in the joints.
Most 3D wall panels can be painted with standard emulsion. Apply a light coat of primer first, then use a roller for the flat surfaces and a brush to get into the relief detail. Two coats usually gives the most even coverage.
Ready to Get Started?
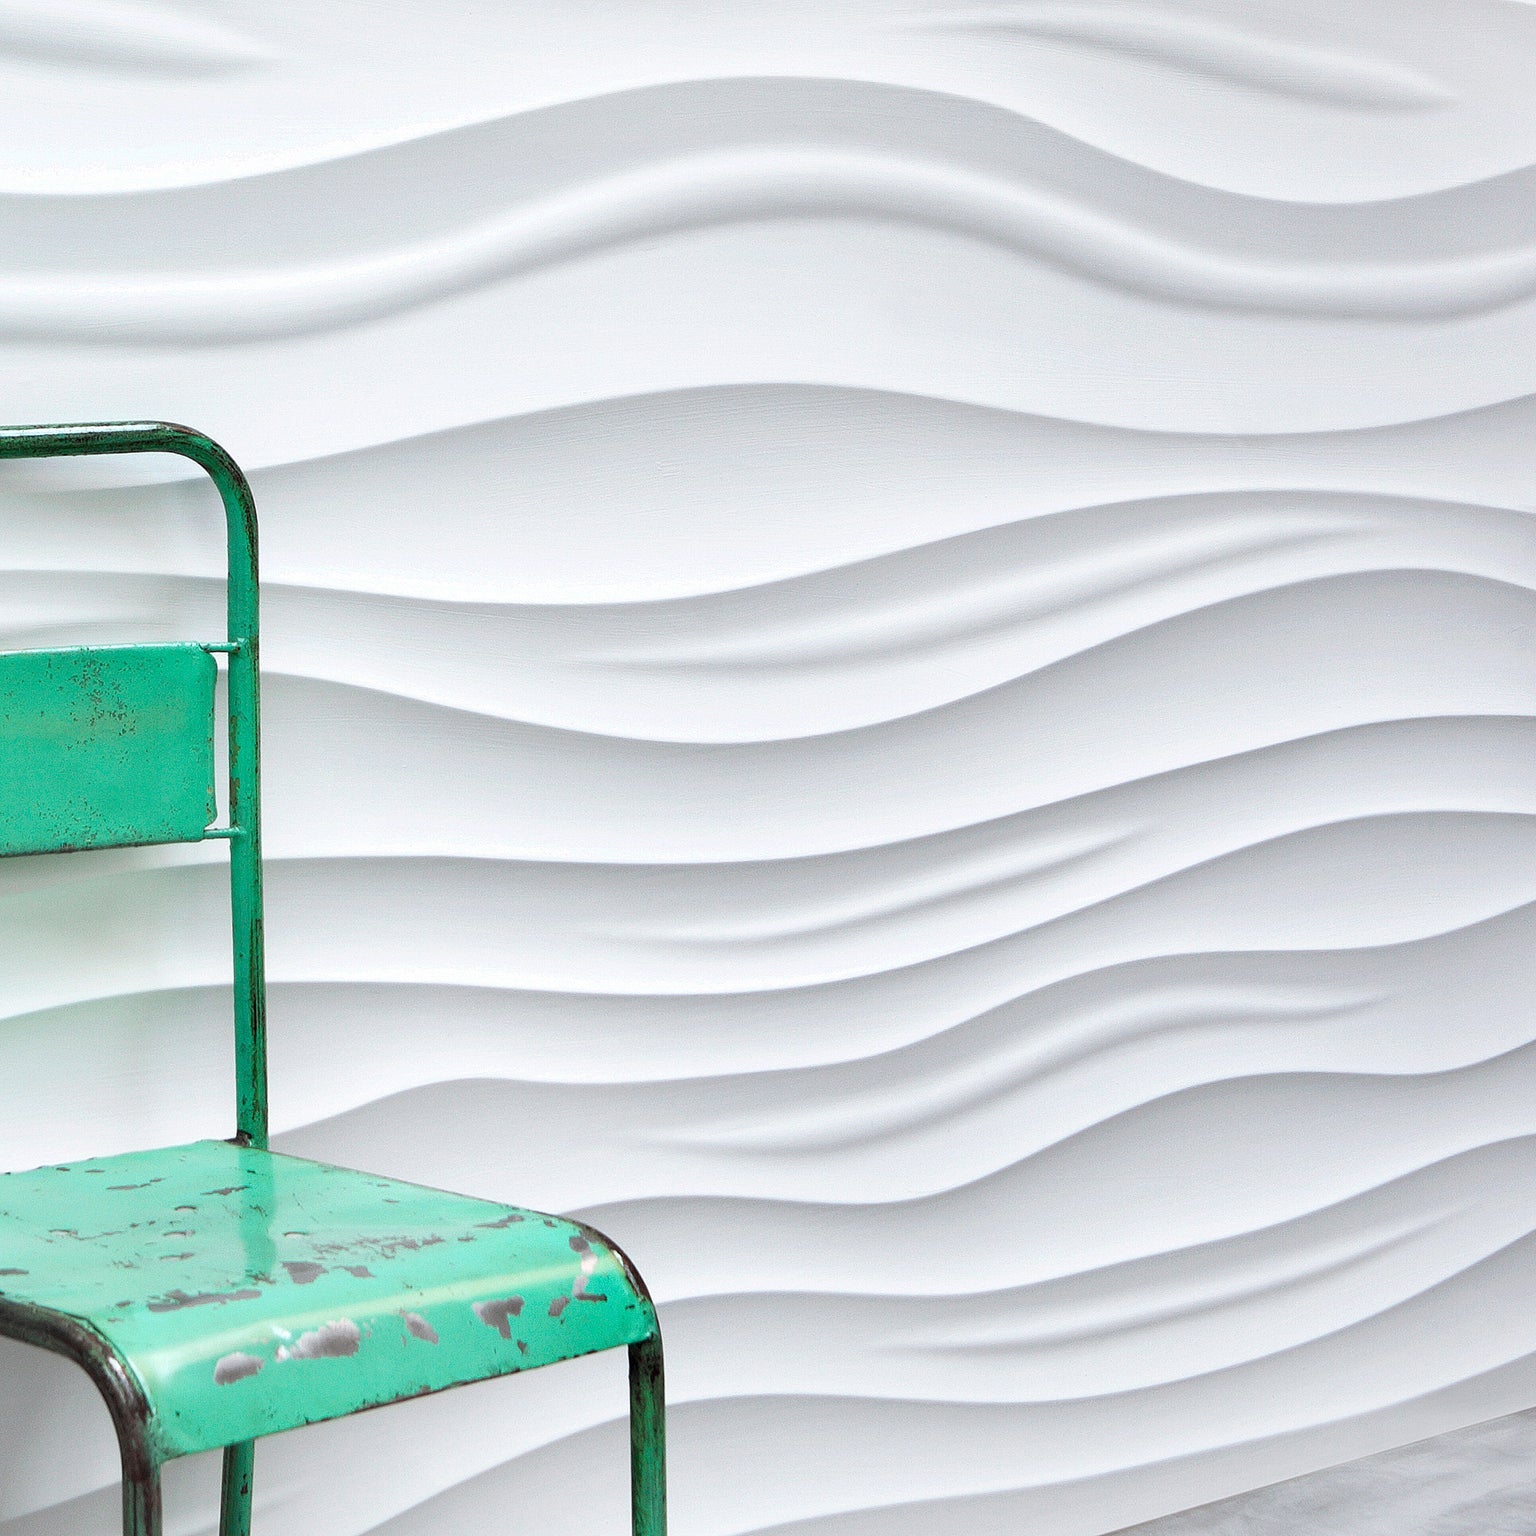
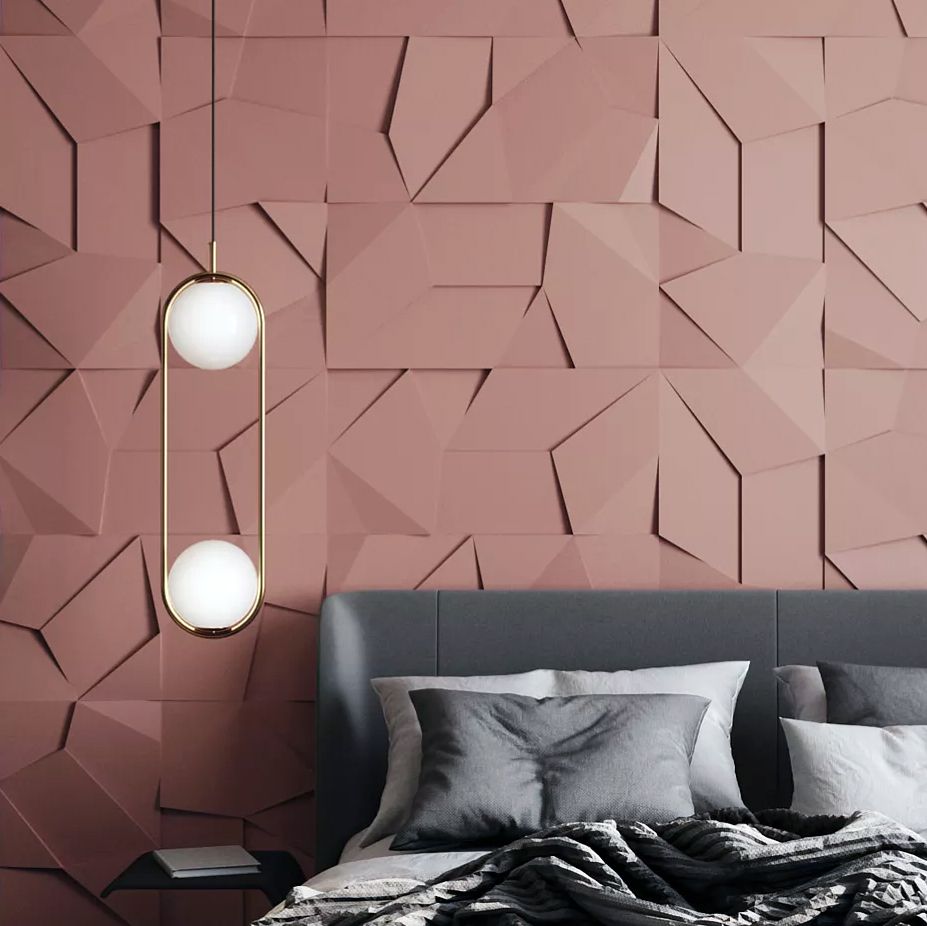
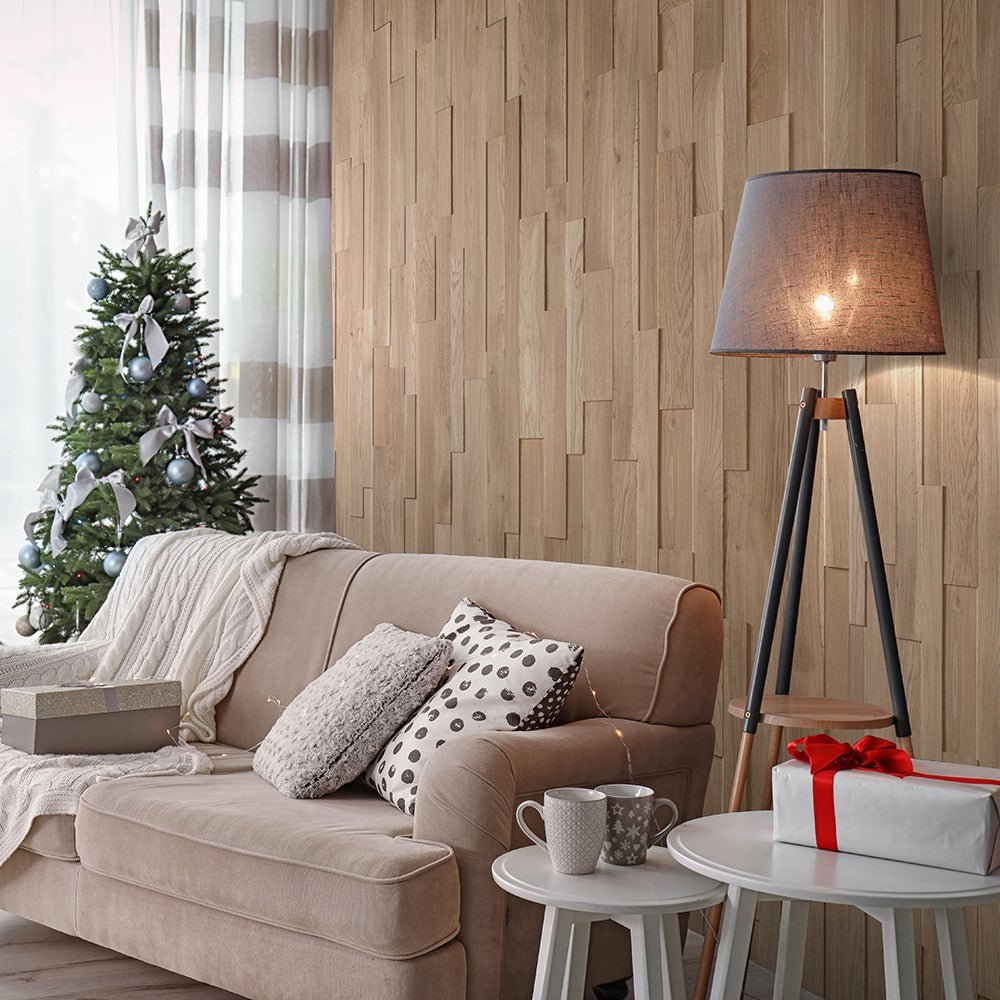
With a bit of preparation and patience, fitting 3D wall panels is a satisfying DIY project with stunning results. Whether you're creating a feature wall in a living room, adding drama to a hallway, or giving a bedroom a boutique hotel feel, the transformation can be remarkable.
Browse our full range of 3D wall panels at 3dwallpanels.co.uk — and if you have any questions about the right product for your project, we're always happy to help.
Primary keyword: 3D wall panel installation | Related keywords: how to fit 3D wall panels, 3D wall panels DIY, feature wall panels UK
Leave a comment