03 Jan - 04 Jan estimated delivery (Excluding weekends)
Order placed
30 Dec - 01 Jan
Dispatched
31 Dec - 01 Jan
Delivered
03 Jan - 04 Jan
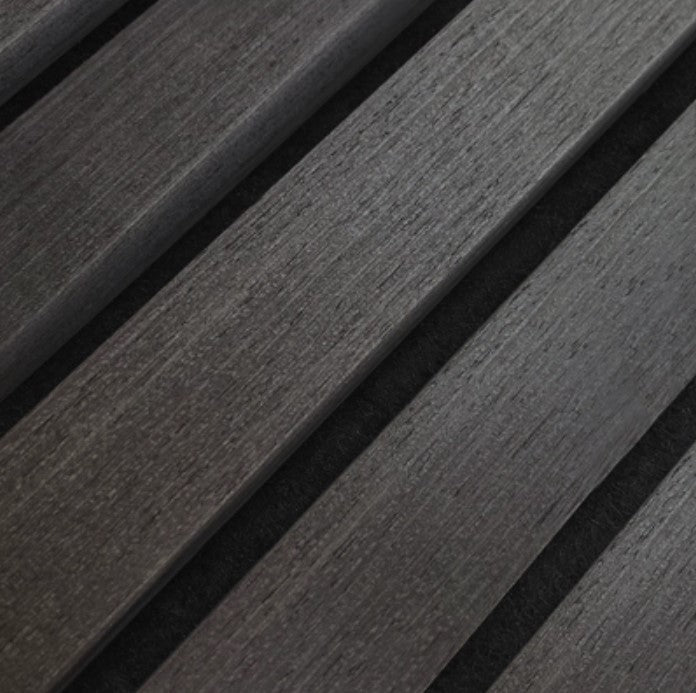
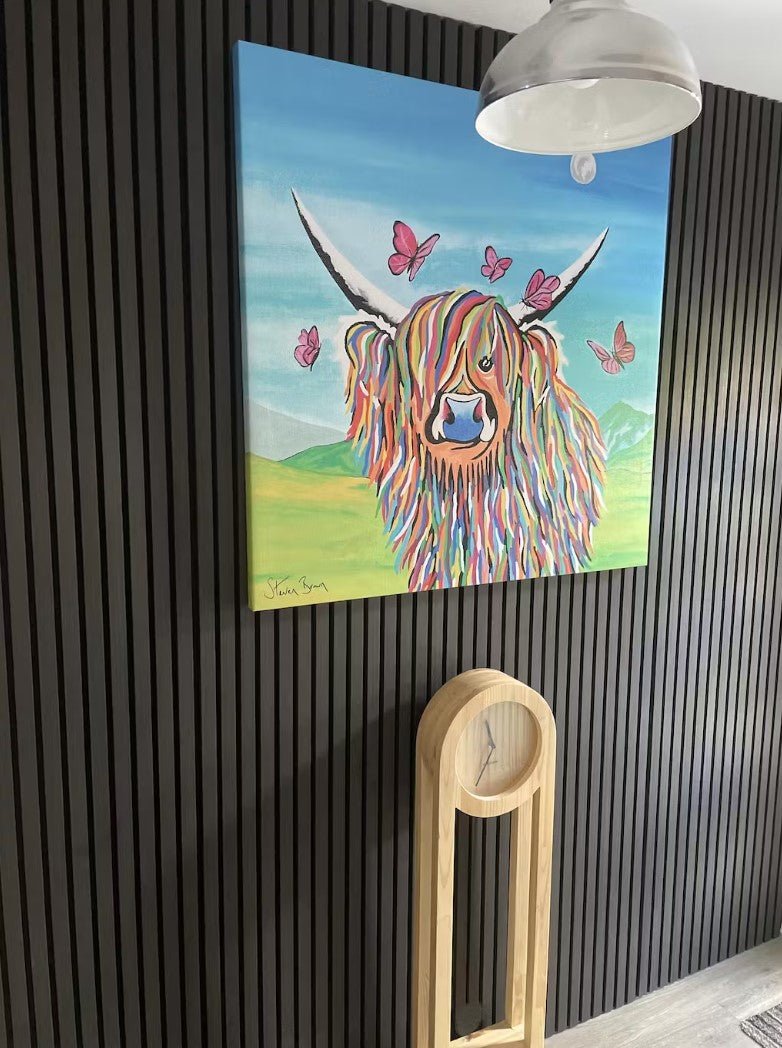
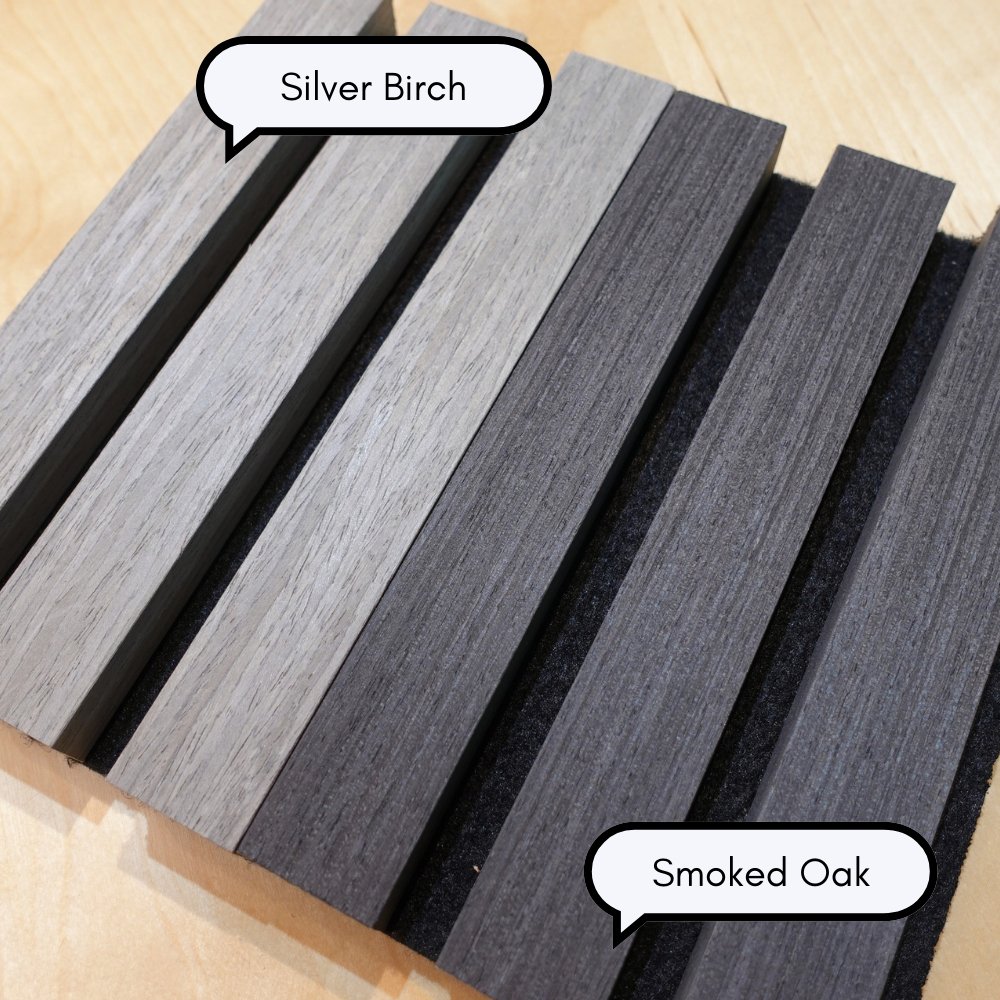
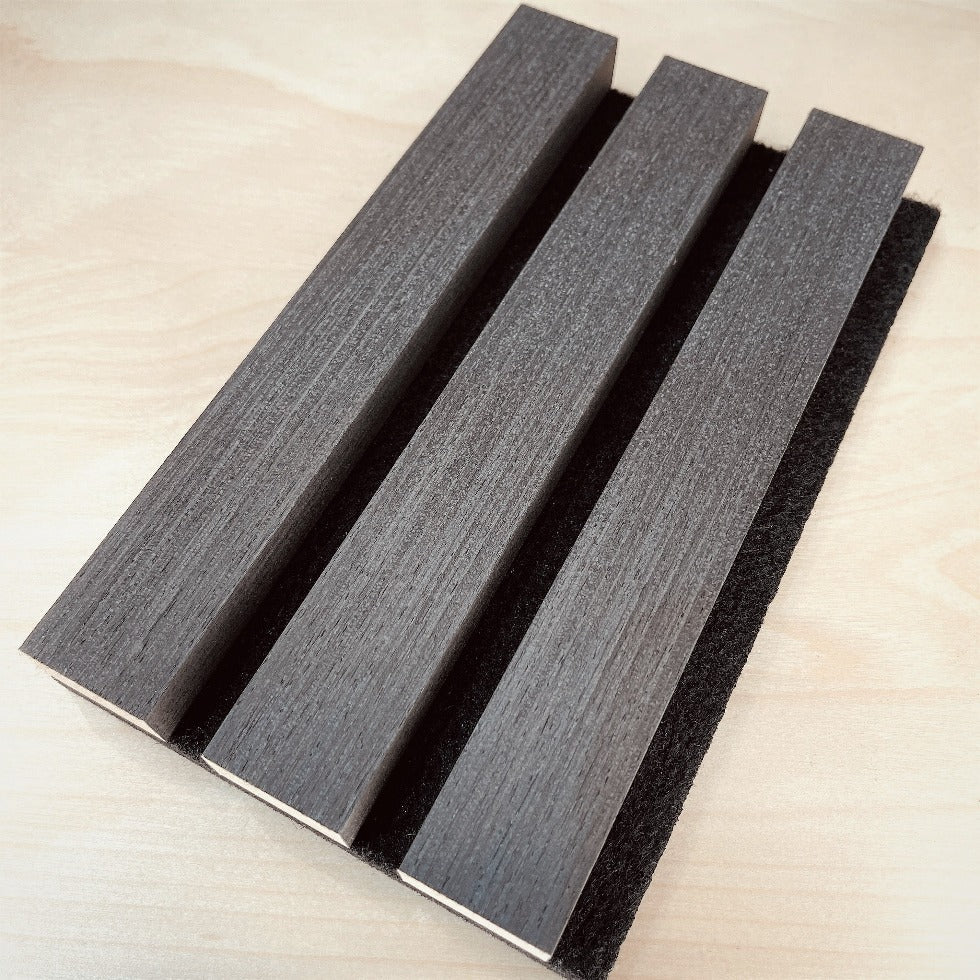
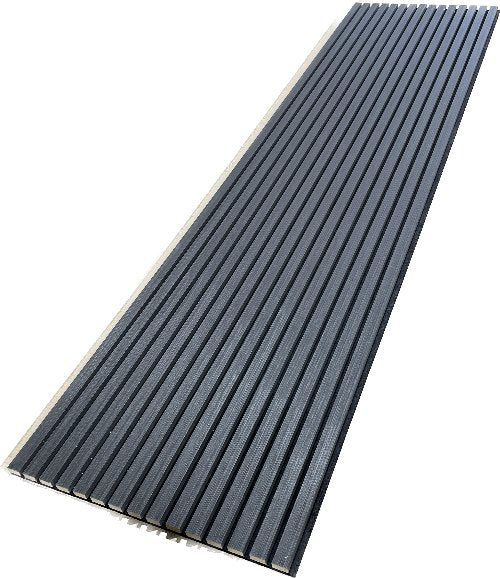
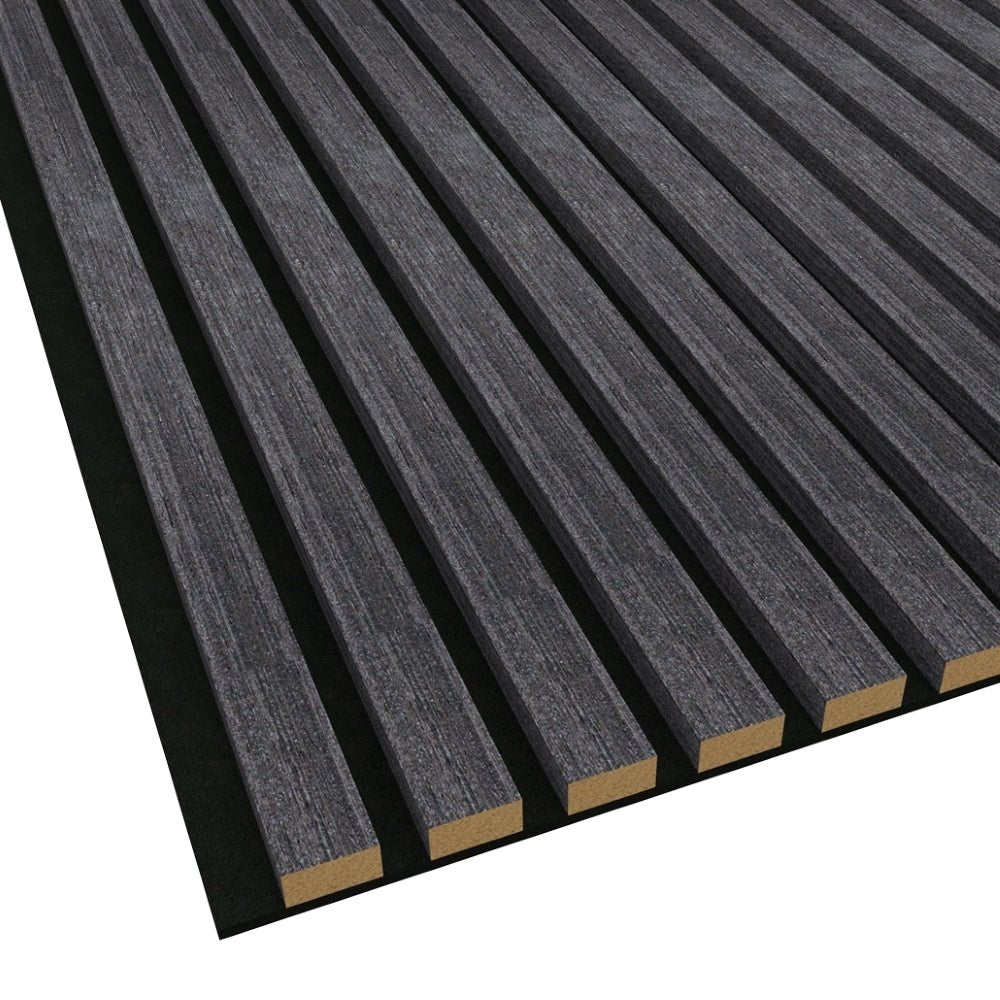
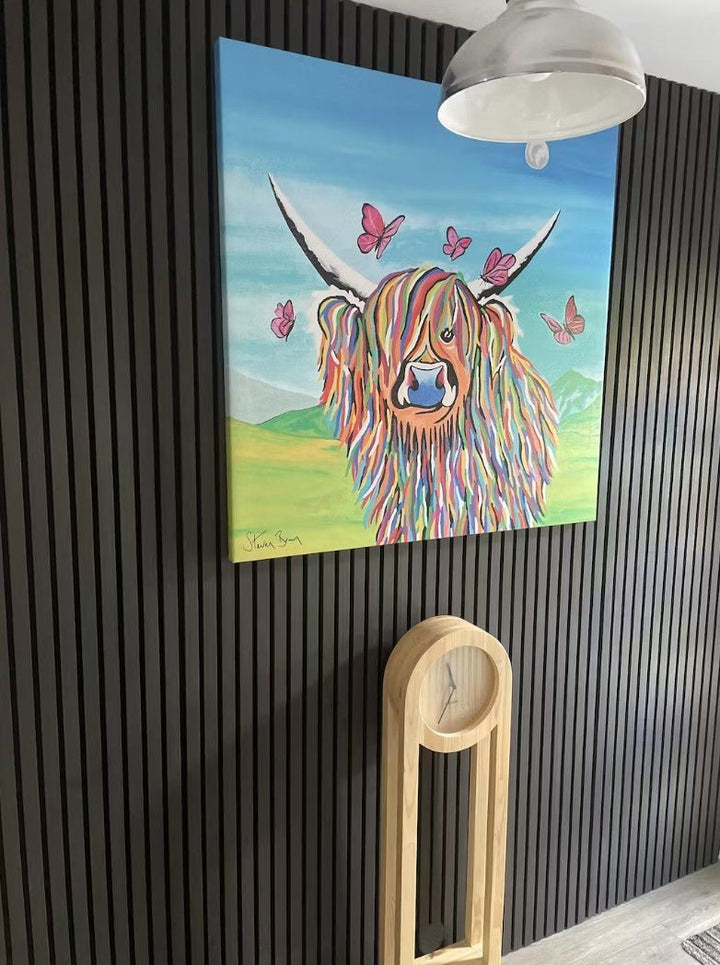
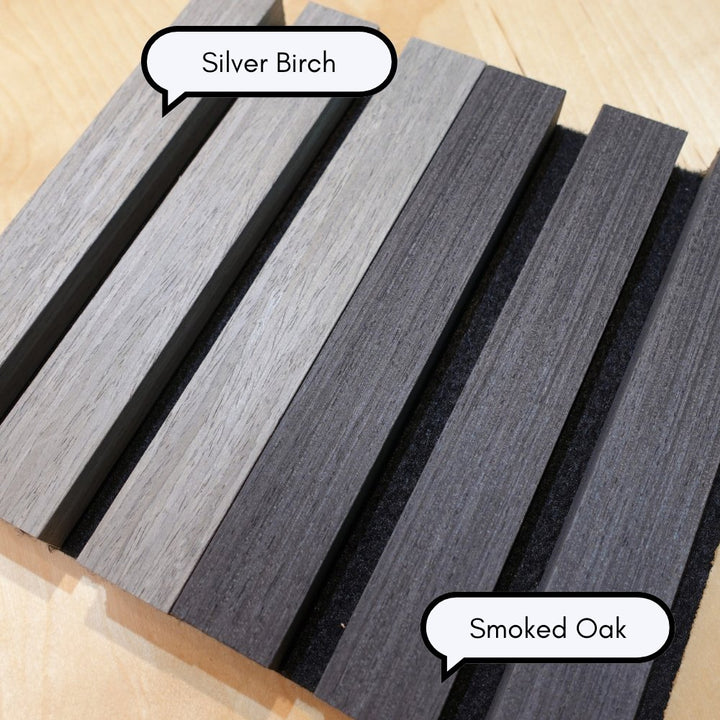
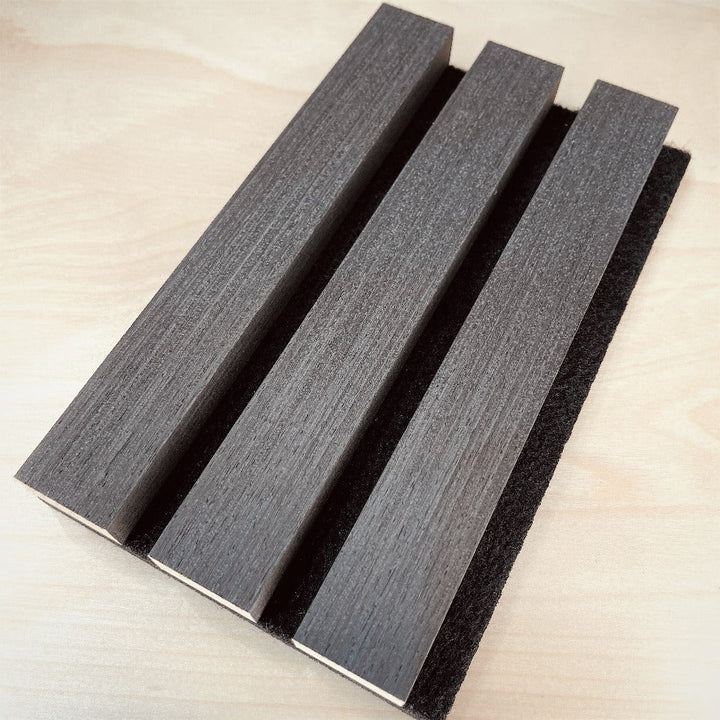
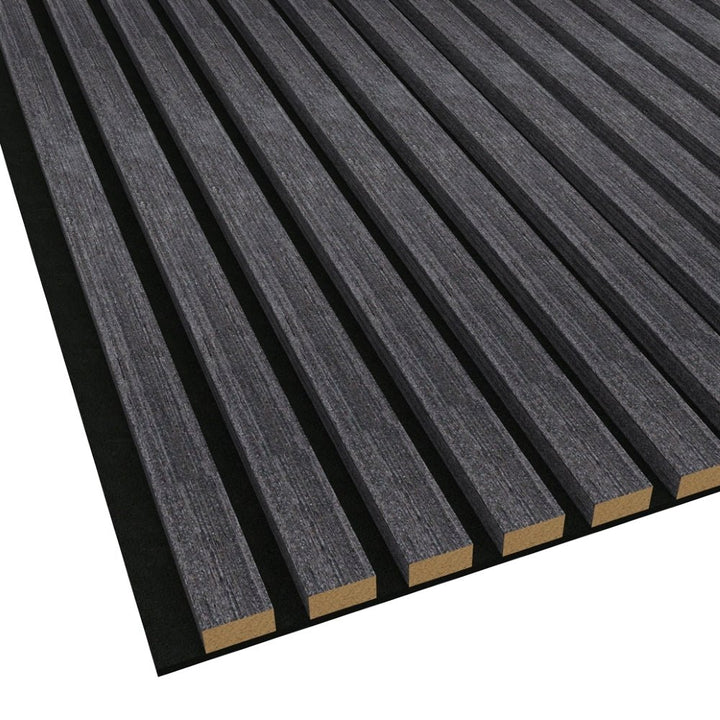
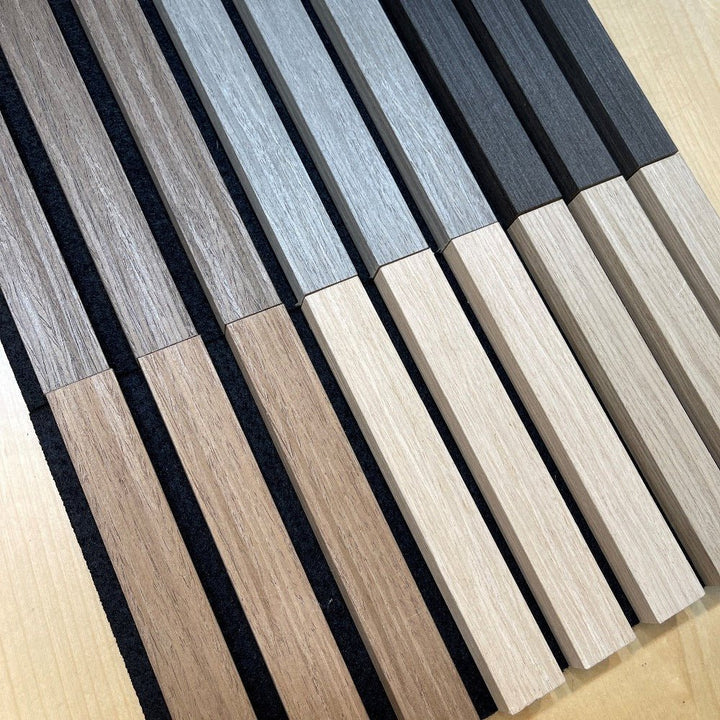
Smoked Oak Wooden Wall Panel
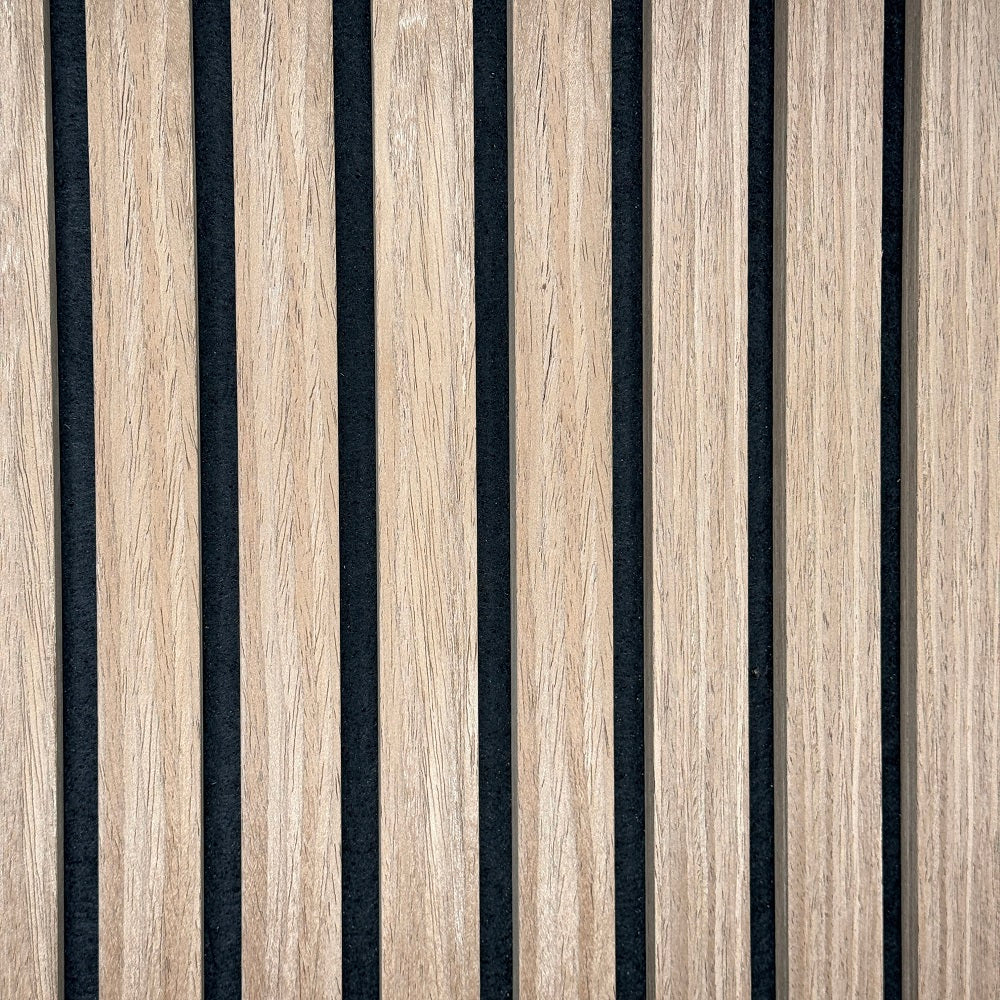
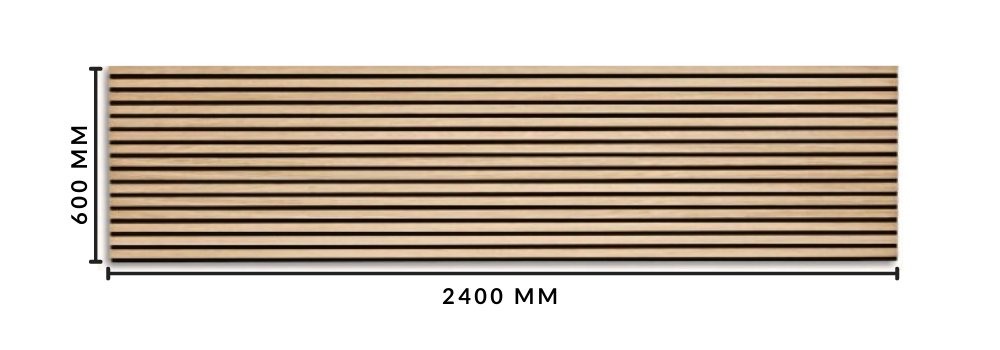
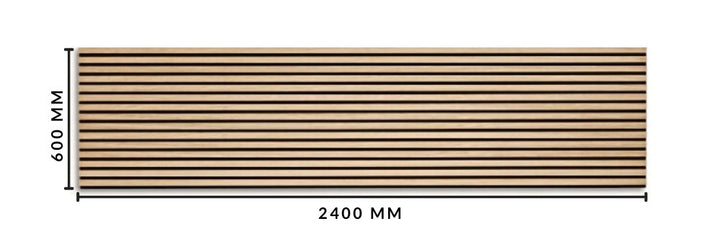
Elevate your interiors with the deep, smoky elegance of our Smoked Oak Wooden Wall Panel. This panel, measuring 2400 x 600 x 22 mm, offers a premium, sophisticated look that’s veneered on all three sides for a flawless finish. Perfect for anyone looking to add depth, warmth, and style to their spaces with a modern yet rustic touch.
Key Features:
- Unbeatable Prices Across the UK: Enjoy top-quality wall panels at the lowest prices within the United Kingdom.
- Acoustic Slat Design: Enhance your acoustics with our slatted design, perfect for creating a quiet, comfortable space.
- 3-Sided Wood Veneer: The three-sided veneer ensures a seamless, polished look from every angle.
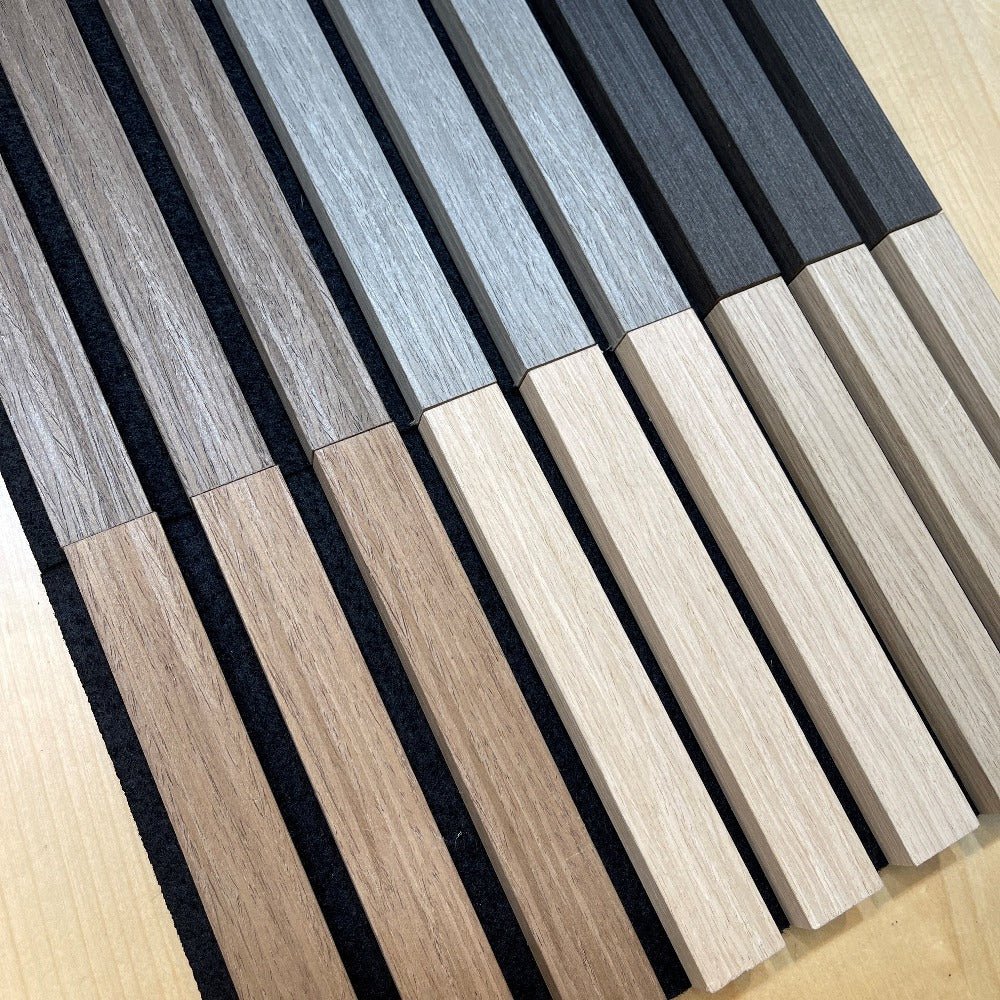
- Authentic Wood Grain Design: Experience the natural look and feel of real wood, crafted to mimic authentic oak grain.
- Thick Felt Backing: Equipped with a thick felt backing for superior sound absorption, making it ideal for both residential and commercial settings.
- Sustainably Sourced Materials: Crafted from fully sustainable and durable materials, supporting eco-conscious choices.
- Versatile Installation: Suitable for walls and ceilings, providing a cohesive and stylish look across your interior.
- Ideal for Indoor Spaces: The perfect wall covering solution for adding style and functionality to any indoor space.
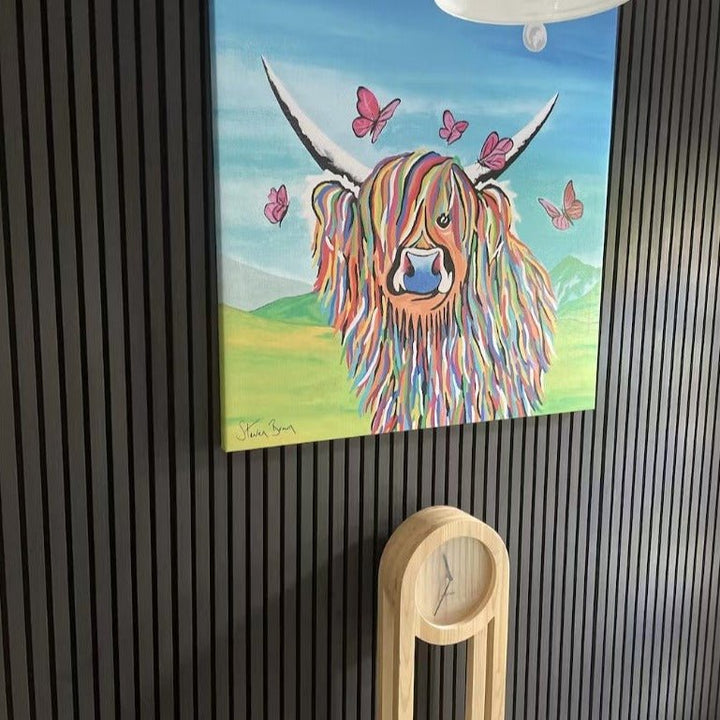
Add the rich allure of Smoked Oak to your home or office, creating a warm, inviting, and stylish environment with ease.
- Easy to install.
- Natural appearance.
- Residential and Commercial
application. - Class A sound absorption.
- Real wood veneer on MDF core.
- Recycled felt backing in black.
- Low maintenance.
- Environmentally friendly and ecologically sustainable.
Acoustic Slat Wall Panel Installation Guide
Tools and Materials Needed
- Tape measure
- Spirit level
- Pencil
- Drill and screws (appropriate for wall type if required)
- Wall plugs (if required for plasterboard or masonry)
- Saw (for cutting panels if needed)
- Screwdriver or power drill with screwdriver bit
- Polymer Adhesive
Step-by-Step Installation Instructions
Step 1: Prepare Your Workspace
- Clear the area where you'll install the panels and remove any wall decor or obstructions.
- Clean the wall surface to ensure there’s no dust or debris, as this will help the adhesive (if used) bond well.
Step 2: Measure and Mark
- Measure the wall to determine how many panels you need.
- Mark the starting line for your first panel on the wall using a spirit level and pencil. This ensures the panels are straight from the start.
Step 3: Cutting (if required)
- Measure and mark where cuts are needed if the panels don’t fit the wall exactly.
- Cut the panels with a saw to the correct size, ensuring a smooth edge for a clean finish.
- Cut the felt vertically with a sharp craft knife.
Step 4: Install the First Panel (Using Adhesive)
- Apply a quality polymer adhesive to the back of the panel in a zigzag or dotted pattern, ensuring good coverage.
- Press the panel firmly against the wall along the marked line, checking alignment with a spirit level.
- Use temporary screws to hold the panel in place until the adhesive fully sets. This will prevent any movement as it bonds.
- Remove the temporary screws once the adhesive is completely set (refer to the adhesive manufacturer’s guidelines for setting time).
Step 5: Install Additional Panels
- Place the next panel beside the first, aligning the slats carefully to create a seamless look.
- Repeat the process of screwing or using adhesive and wall plugs as needed.
- Continue this process until all panels are installed.
Step 6: Finishing Touches
- Clean the panels with a soft, damp cloth to remove any installation dust.
- Inspect the installation to ensure all panels are secure and aligned.
DOWNLOAD PDF INSTALLATION INSTRUCTIONS
Panel Width 600 mm
Panel Height 2400 mm
Panel Depth 25 mm
Slat Width 28 mm
Slat Depth 15 mm
Felt Backing Depth 10 mm
Slat Gap 13 mm
Panels are packed and sent out individual packed in a sturdy cardboard box.
We carry stock at our West Yorkshire warehouse, we not drop ship!
You are welcome collect from our warehouse in West Yorkshire, please call us first!
Postage will be added during checkout.
Acclimatization and choice of glue
We recommend acclimatizing wood panels to the new environment for 1-2 days, keeping them unpacked. This will ensure that the panels get used to the climate of the new room.
Slack the panels flat. Use only water-free polymer-based flexible mounting adhesive to glue the panels to the wall.
Wall preparation
Make sure that the surface on which you will install the panels is relatively flat. The surface must also be clean, dry and free of dust. The product is intended for use in rooms with relative humidity from 40% to 60%.
Fixing the panels
Use polymer-based mounting adhesive to glue the panels to the wall.
When choosing an adhesive, follow the adhesive manufacturer’s instructions about the surface onto which you plan to glue the panels, as well as the required amount of adhesive. Apply the glue as instructed. Make sure that the glue is also applied to the corners of the panels. Make sure the glue is applied to the corners of the panels as well.
You can secure the panels with screws through the felt and remove the screws once the glue has dried.
CAN YOU OIL YOUR SLATWALL PANELS!
Yes, you can! We gave this Walnut Slat Wall Panel a coat of Ronseal Finishing Oil. It's a quick and easy application that not only adds colour but brings out the wood grain but also makes sure your panels stay looking great for a long time. Super easy and totally worth it!
